How to Master the Art of Baking Bread at Home
Baking bread at home is a rewarding and meditative process that fills your kitchen with the comforting aroma of freshly baked loaves. While it may seem intimidating at first, mastering the art of bread baking is achievable with a little patience, practice, and the right techniques. From kneading dough to achieving the perfect crust, here’s a step-by-step guide to help you become a confident home baker.
1. Choose the Right Recipe
Start with a simple recipe, such as a basic white loaf or a no-knead bread. As you gain confidence, you can experiment with sourdough, whole grain, or artisanal breads.
Pro Tip: Use a kitchen scale to measure ingredients by weight for more consistent results.
2. Understand the Ingredients
Bread requires just a few basic ingredients, but each plays a crucial role:
Flour: Provides structure. Use bread flour for higher protein content and better rise.
Water: Activates the yeast and hydrates the flour.
Yeast: Causes the dough to rise by producing carbon dioxide.
Salt: Enhances flavor and controls yeast activity.
Pro Tip: Use filtered water at room temperature for best results.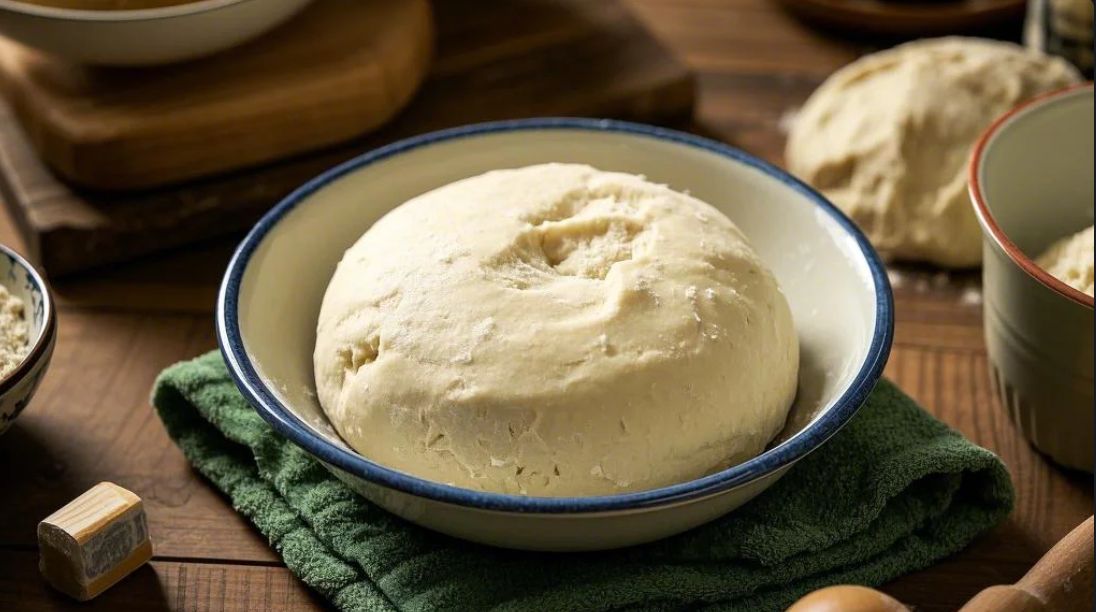
3. Mix the Dough
Combine the ingredients in a large bowl and mix until a shaggy dough forms. Use your hands or a wooden spoon to ensure all the flour is hydrated.
Pro Tip: Let the dough rest for 10–15 minutes before kneading to allow the flour to absorb the water.
4. Knead the Dough
Kneading develops the gluten, which gives bread its structure and texture.
Place the dough on a lightly floured surface.
Push the dough away from you with the heel of your hand, then fold it back toward you.
Rotate the dough 90 degrees and repeat.
Pro Tip: Knead for 8–10 minutes, or until the dough is smooth and elastic.
5. Let the Dough Rise
Place the dough in a lightly oiled bowl, cover it with a damp towel or plastic wrap, and let it rise in a warm, draft-free area. This process, called proofing, allows the yeast to ferment and the dough to double in size.
Pro Tip: To test if the dough has risen enough, poke it with your finger. If the indentation remains, it’s ready.
6. Shape the Dough
After the first rise, gently punch down the dough to release excess gas. Shape it into a loaf or round, depending on your recipe.
Pro Tip: Use a bench scraper to handle sticky dough and create a smooth surface.
7. Second Rise
Place the shaped dough in a loaf pan or on a baking sheet, cover it, and let it rise again. This step, called the final proof, ensures the bread will be light and airy.
Pro Tip: For a crisp crust, let the dough rise uncovered during the final 15 minutes.
8. Preheat the Oven
Preheat your oven to the temperature specified in your recipe. For a crisp crust, place a baking stone or cast iron skillet in the oven to heat up.
Pro Tip: Add a pan of water to the oven to create steam, which helps develop a shiny, crackly crust.
9. Score the Dough
Before baking, use a sharp knife or razor blade to make shallow cuts on the surface of the dough. This allows the bread to expand evenly during baking.
Pro Tip: Score at a 45-degree angle for a more dramatic “ear” on your loaf.
10. Bake the Bread
Place the dough in the oven and bake according to your recipe. The bread is done when it has a golden-brown crust and sounds hollow when tapped on the bottom.
Pro Tip: Use an instant-read thermometer to check the internal temperature. For most breads, it should be between 190°F and 210°F (88°C–99°C).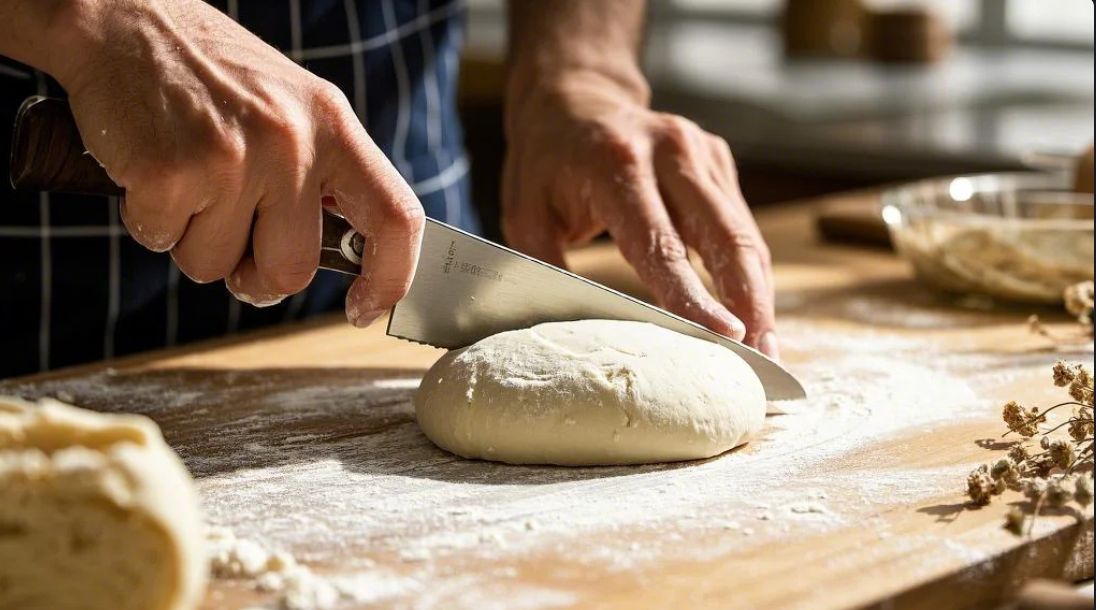
11. Cool the Bread
Let the bread cool completely on a wire rack before slicing. This allows the crumb to set and prevents it from becoming gummy.
Pro Tip: Resist the temptation to slice into the bread while it’s still warm!
Conclusion
Baking bread at home is a skill that improves with practice and patience. By understanding the basics—choosing the right recipe, kneading the dough, and mastering the rise and bake—you can create delicious, homemade bread that rivals any bakery. Whether you’re baking a simple white loaf or experimenting with sourdough, the process is as rewarding as the result. So roll up your sleeves, dust off your apron, and start baking. Your kitchen will soon be filled with the irresistible aroma of fresh bread. Happy baking!
mike
|
2025.03.18

